Showing posts with label altered items. Show all posts

Saturday, October 17, 2015

Altered Halloween Book

I found the instructions on how to make these books on Pinterest. (or you can find it directly here). I thought it would make a cute Halloween decoration, but I also wanted to make it into a scrapbook so you could actually look through the book. I divided my book into sections for how many pages I wanted in my book. I paper clipped the sections together.I kept the first and last page of each section and tore out the middle pages, then I glued the front and back page of each section together to form one page. This is my end result.
I decided I would try the spiderweb for my cover. I just made the spider web out of hot glue. I used stickers for my letters but they probably weren't thick enough. I would probably use thicker letters because when I highlighted the high spots with the metallic paint, I could not get just the letters to highlight. I had to paint over them and it was kind of hard to see their outline. Overall, I like the book.


Here's a peek at the book with the inside pages.


Here are the inside pages


Monday, October 27, 2014

Halloween Treats

Just thought I would share a couple Halloween goodies I made.
I made these little coffins for the ladies I go visiting teaching to.


Then I made a bigger version of the candy box I have made before. I actually made this for my son to answer for a dance. He put candy in it and said: It would be a "TREAT" to go to girl's choice with you.


Thanks for looking!

Tuesday, February 11, 2014

Conversation Hearts

I made a couple of these to send to my son on his mission and made them for Visiting Teaching. Cute huh?
There is a box of conversation hearts in the middle.
Picture shows front and back.


I cut my cardstock 3" x 9.75" I scored at 1 inch and 4.5 inch from each end. I found the printable for the back on Pinterest.
Thanks for visiting my blog.

Monday, October 28, 2013

Test Tube Halloween Treats

I have been a slacker at keeping up my blog. I made some halloween treats to take visiting teaching, and for my co-workers. I found the tutorial at Split Coast Stampers. I thought they turned out cute!


I will try to do better at updating more frequently. Not sure that anyone even looks at my blog anymore.
But if youre here, thanks! and have a great day!

Saturday, December 22, 2012

Christmas Gifts

Wow, I haven't posted in a long time! Here are a couple of gifts I made for Christmas this year.
I found the instructions for this one on the Inking Idaho blog.


I have made these before, but I made these for some kids at the school I work at.


I will try to update more often. Let me know if you visit. Have a very Merry Christmas!

Thursday, September 20, 2012

Boys and Girls club

I signed up to do a class for Boys and Girls club. I hope the kids will enjoy it. This is what I came up with. (I turned in a plan and Im not positive these are in the right order).
Week 1
They will just make one rolo pencil. There will be a tag that they can put their name on or whatever.
Week 2
Week 3
These are bookmarks. They will make 2 in either size. They will design their own faces...mine are just for ideas.
Week 4
They will make 2 cards. They can choose their own theme.
Week 5
Week 6
What do you think? The kids are 6th and 7th grade age.


Friday, August 10, 2012

Paper Bag Purse

I saw a paper bag purse on another site and decided to try it. I found it to be fairly simple to make and so cute! I got the sack from my local grocery store, its a little smaller than a lunch sack. I cut it off at 4.5 inches and just covered the front and back with paper. I made a flap and glued it to the back and used velcro to close it in the front. The flowers are from my Walk in My Garden Cricut cartridge. I cut them at 1.5", 2", and 2.5" and layered them. Such a cute way to package  a small gift.


Thanks for looking :)

Thursday, July 5, 2012

Girls camp scrapbook journal

I went to Girl's camp this year and we made a scrapbook journal as one of our camp crafts. We used Readers Digest Condensed versions as our book. We took out some of the pages. When I glued my scrapbook pages in, my pages started falling out, so I took the spine off the book and used rings to hold the book and pages together. I think it made it easier to write in my journal, so Im glad that I had to find a way to hold my pages together. This is the finished project.

This is the first page in my journal

Our theme for camp was the Forget Me Nots.

This is Day 1

Day 2

Day 3

Day 4

Day 5

I had extra pages so I added these.
This is a picture of the new Brigham City temple that is being built close to me.

I liked this quote.

I also liked this quote.

I thought this could be extra room to write or pictures??

at the back I put an envelope to keep memorabilia from camp.

This is what the envelope looks like when its open.

Thanks for stopping by!! Leave me a comment so Ill know you were here.

Monday, March 5, 2012

Young Women gifts

Sorry I haven't posted for a while. Life just got too busy.
I am in the Stake Young Women's presidency. We are making these as gifts for girls who earn their personal progress...get it? "Purse"onal Progress. Inside are 8- 3x3 cards, one for each value. (to see what the purse looks like with cards inside, see this post) Each card is decorated in the color of the value and there's a little quote about the value on the card. The girls have really liked these. We also give them to leaders who earn theirs as well. Cute huh?

I was trying to get ahead so I made several on this day.

I used Die Cuts with a View paper stack (La Creme) and ribbon. Easy to make, just time consuming.
Thanks for stopping by, Ill try to update more often.

Friday, December 23, 2011

6x6 tiles

I thought I had already uploaded these. I made some 6x6 tiles like my 4x4 coasters, but I put the 6x6 tiles in a stand to display them. This is what I came up with for these.
The snowman pattern is from the "I Believe" book by Art to Heart. It's a quilt book. I used Echo Park papers on this.

This Santa pattern came from the same book. I used Basic Grey papers on this one.

and this one came from the book as well. I used Basic Grey papers for this one.

I hope you all have a Merry Christmas!!

Monday, December 5, 2011

More tile coaster designs

Here are the other designs I made for the tile coasters.
I love this little penguin. He was made from a pattern by Kaylas Kreations. I dont know where you can find these patterns anymore...she has taken her site down.

This reindeer is one I saw in an idea book a couple of years ago. I think they used a coaster from a restaurant to make the head...I just paper pieced it.

I dont remember where I found this pattern, but they are cute huh?

Hope you like my ideas. Leave me a comment so I know you stopped by :)

Thursday, December 1, 2011

Christmas Coasters

I dont know if you remember the tile coasters I made back in March, but I decided to make some Christmas sets. Here is one of the sets I have made (there's more I'll show you later).

I used Basic Grey papers on it. I pieced one and copied them like I did before so it would be quicker and less bulky. I hope the people receiving these will enjoy them.
I'll share the rest with you later.
Happy Holidays!

Saturday, October 29, 2011

Candy box tutorial

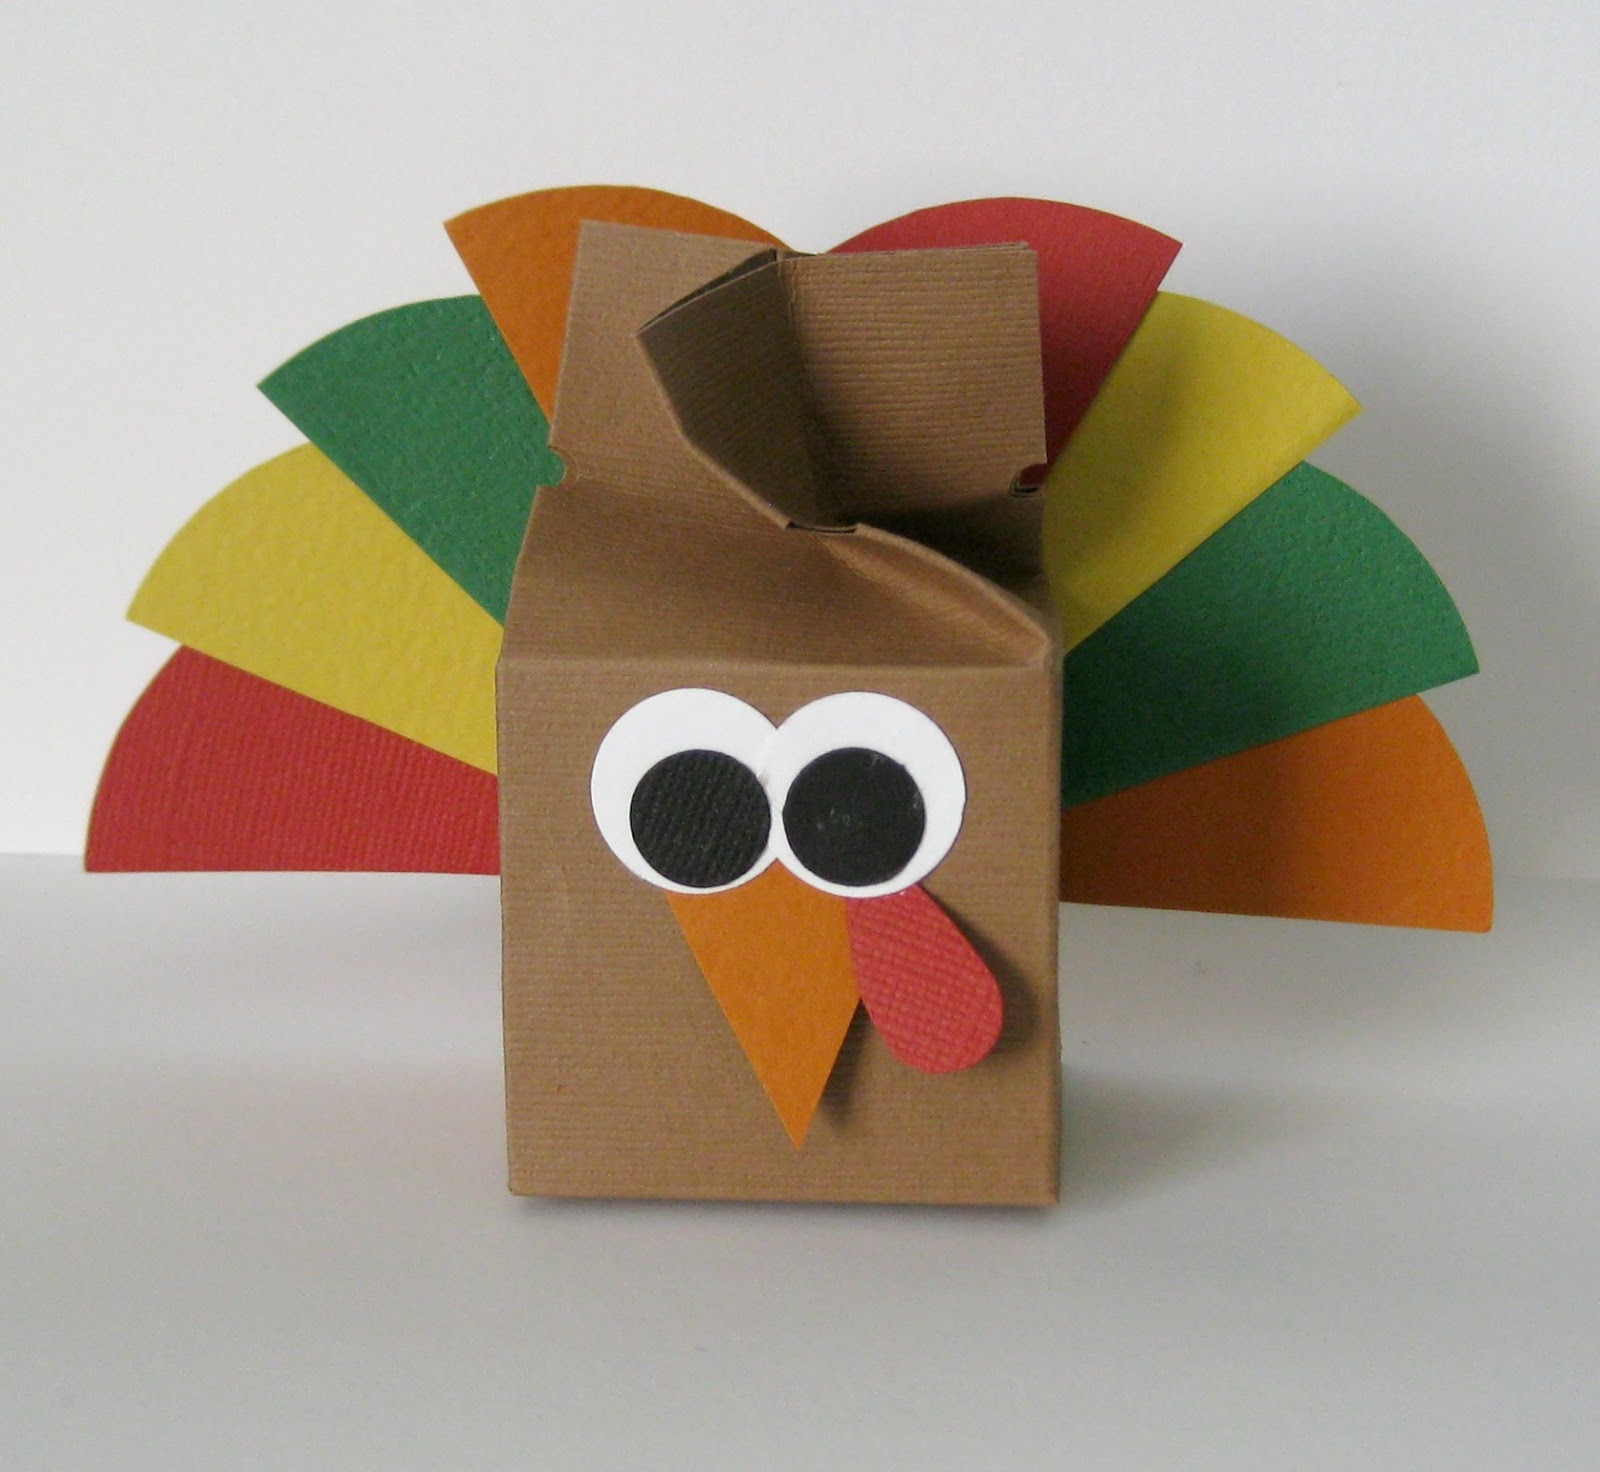
These candy boxes are so fun to make. I have made them for my kids to give as gifts to their friends, and I have made them as party favors. Here's how you make them.

I found the pattern for the candy box online. Click link for pattern CANDY BOX
The dashed lines are scored and folded. The size of the paper is on the pattern. The dark circles are holes punched in the cardstock like this.

Then you place glue on the edge and glue closed like this.
I used scrappy glue, but any strong adhesive would work. You could also use tacky tape.

I form the box and then twist the ends like this.
It works really easy if you have scored the fold lines and punched the circles out.

After you have constructed your box, cut4 pieces of patterned paper 1-5/8 x 4 inches and glue to each side of the box. Fill your box with candy or another small gift and tie the ends closed with ribbon. These don't have to be just for Christmas. You can do them for Halloween, Valentine's Day, Birthdays...anything you want!!
Thanks for stopping by! Leave me a comment :)

Wednesday, October 5, 2011

Gifts

This week at House of Paper the theme was Gifts and Cards. I chose to do gifts because that is my favorite thing to make.
I found the pattern for this strawberry box and thought it would be a cute thank you gift. I attached a tag that says "Thank you berry much" I enlarged the pattern to 200%. I used Echo Park papers on this one.

For this cute little twist box, I shortened the pattern I found.
I used Bazzill cardstock and some more Echo Park papers.

I dont know if anyone even stops by my blog anymore...but thanks for visiting if you're here :)